Installation and final testing
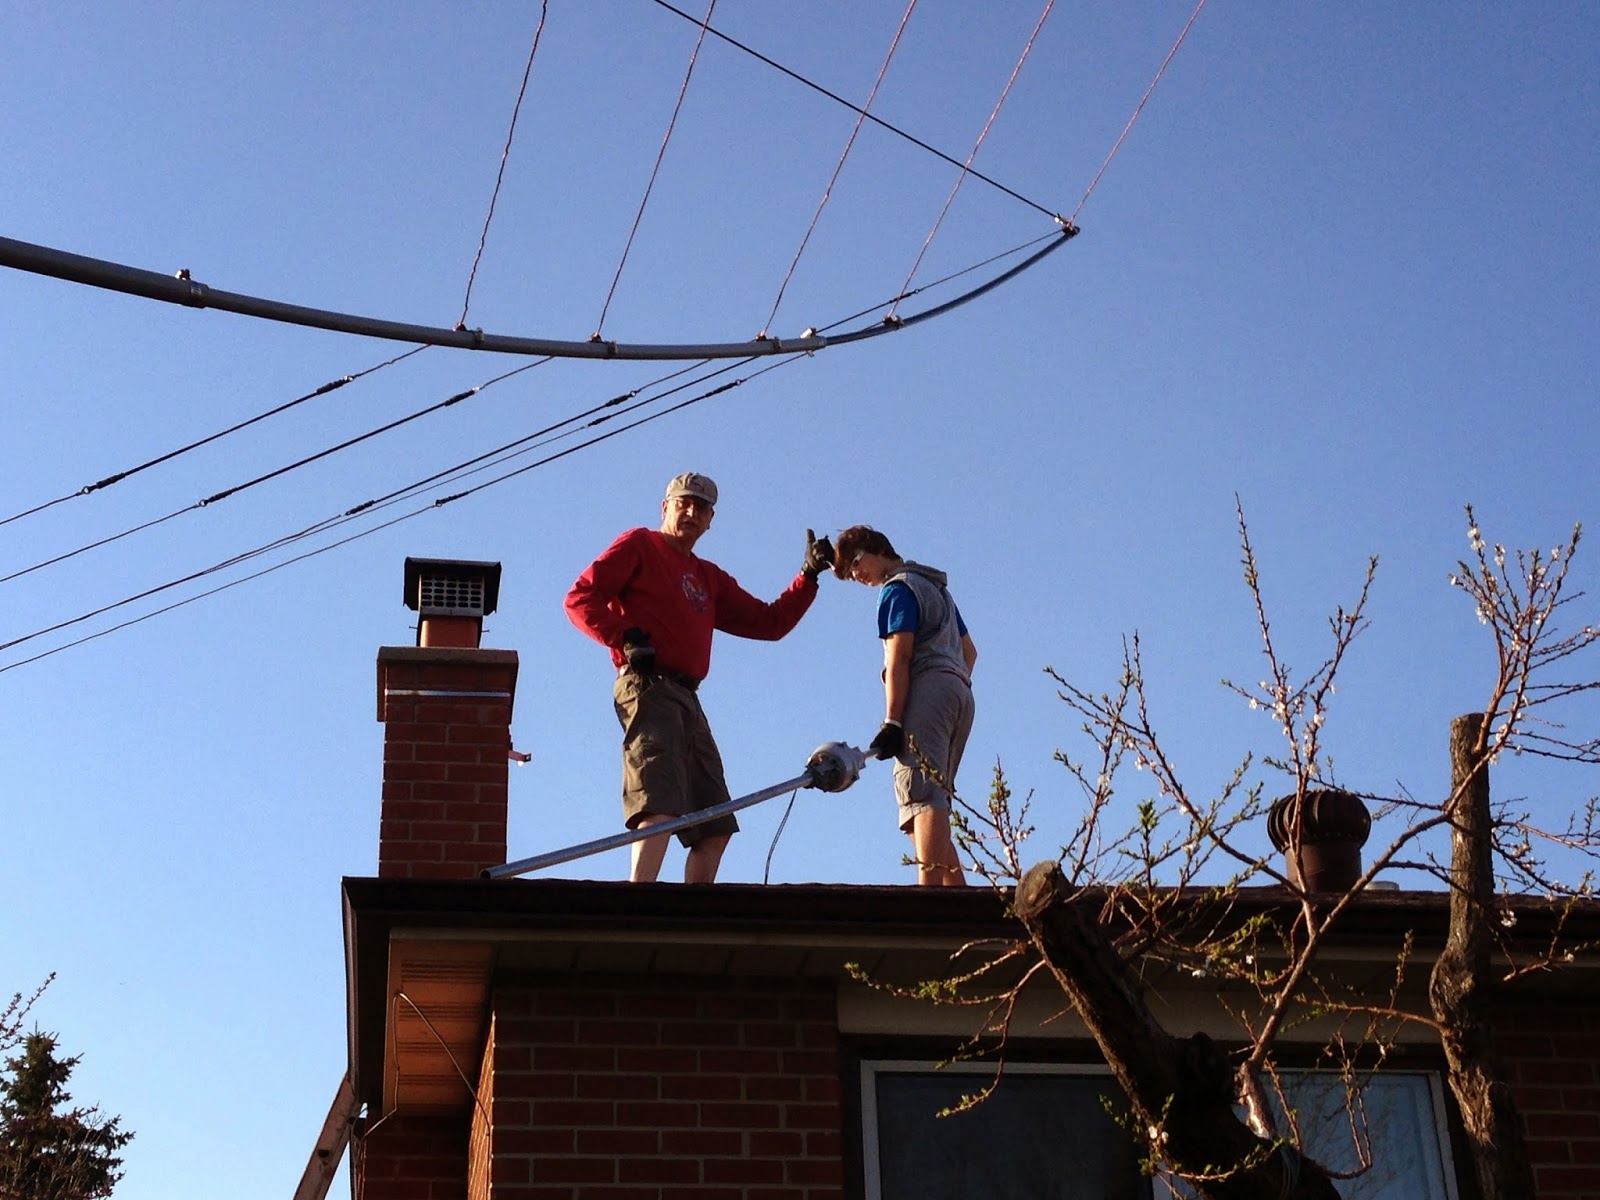
Of course the toughest job in an antenna building is always the installation. I am scared of falling - so you will not see me too often on the rooftop. I will climb there and do what needs to be done, but my shaking knees are a noise hazard and danger to me and everybody else.Generously - Mike (VA3MW) who supervised this antenna project from the beginning, very often giving valuable advices and tips, offered to help installing the antenna up on the rooftop, strapped to my chimney.
Of course even before that we went ahead and purchased an antenna rotor with a controller box (Hygain CD 45 II) which looks a bit like my grandmothers 60 year old radio use to look - but after a bit of cleanup and tune-up I still seems to do the job better than many modern devices built to last a year only. This thing has been in use for 20 plus years and still kicking!
I preinstalled some of the thing before Mike got here, and I made sure all screws, cables, connectors are all in their proper place so we literally just have to lift it up on the rooftop, screw it down, plug it in and it would be ready to use.
We were a bit concerned about bringing a 6m diameter antenna up on a ladder because of all the bushes and trees around the house, but at the end it turned out to be easier than we thought.

I had the antenna up for 2 weeks and I have been making contact like crazy. Previously never heard countries like Israel, Lebanon all of a sudden came up on 20 meters at night. Since my vertical can do 20 meters as well, I often compared the 2 signals, and tested transmitting on both to various stations all over the world. The final verdict always comes back the same, they hear me about 5-7 units better with the hexbeam compared to the vertical. In most cases when I am receiving other stations, the hexbeam is a good 2-3 units quieter compared to the noisy vertical.
After 2 weeks I got tired of manually rotating the hexbeam. I purchased a so called Easy Rotor Control - USB version 4 kit. With this kit I can integrate the rotor into HDR and rotate the antenna to the direction of the remote station with a single click.
While in the case of the Hygain CD 45II there is not much space, I cut a small hole on the side so the USB and power connectors fit through and I screwed the control circuit inside the box, making it a complex small unit:
The above picture was taken while I was wiring the circuit to the inside of the Hygain CD 45 II. This shows how clean this installation really is.
If all works well, here is how it should rotate:
After all this and making 10 plus contacts almost every night on 20 and 17 meters, I also worked several people on PSK31. When working on PSK31 I usually drop the power down to 25W or less, depending on where the contact station is, but with 25W I can work the whole world.If all works well, here is how it should rotate:
One of the past nights I fired up the WSPR (see what that is in my previous blog post), dropped the power to 5W and left it on for the night. After 6 hours I had quite a few contacts made see the propagation map below:
In the near future I will need Mike (VA3MW) back to replace the lower mast, as that is slightly bent and it really bothers my eye. I already purchased the replacement mast. I rustproofed it and at the end painted it in black matte. This picture was taken after the rust proofing primer coat was applied to it. This is a schedule 40 1 1/4 inch pipe which should withstand most of what the weather can throw at it here in Ontario.
This concludes the blog around the hexabeam antenna build, assembly and installation. I hope it gave you a good read as well good resources if you wish to build yours.
And of course this blog would not be complete without a final aerial view of the hexabeam antenna:


No comments:
Post a Comment